

Start with the right map at the right scale
Every confident day out begins with a map that shows enough detail to keep you honest. For walking in the UK, that means the 1:25,000 leisure series, where four centimetres on paper equals one kilometre on the ground. At that scale, field boundaries, gates, streams and individual buildings all appear, which is exactly what you need when the path forks and neither option looks obviously right. The smaller 1:50,000 touring maps are perfectly good for planning a route at the kitchen table, but on a misty hillside they will leave you squinting at ambiguity.
Before you leave the house, spend ten minutes with the legend. Read the scale bar and the contour interval, check the date of the survey, and note the grid lines. Numbers along the edges give you eastings and northings, which is how you quote a location in an emergency. Familiarity with the legend is the single biggest upgrade to your navigation.
Decoding rights of way: footpaths, bridleways and byways
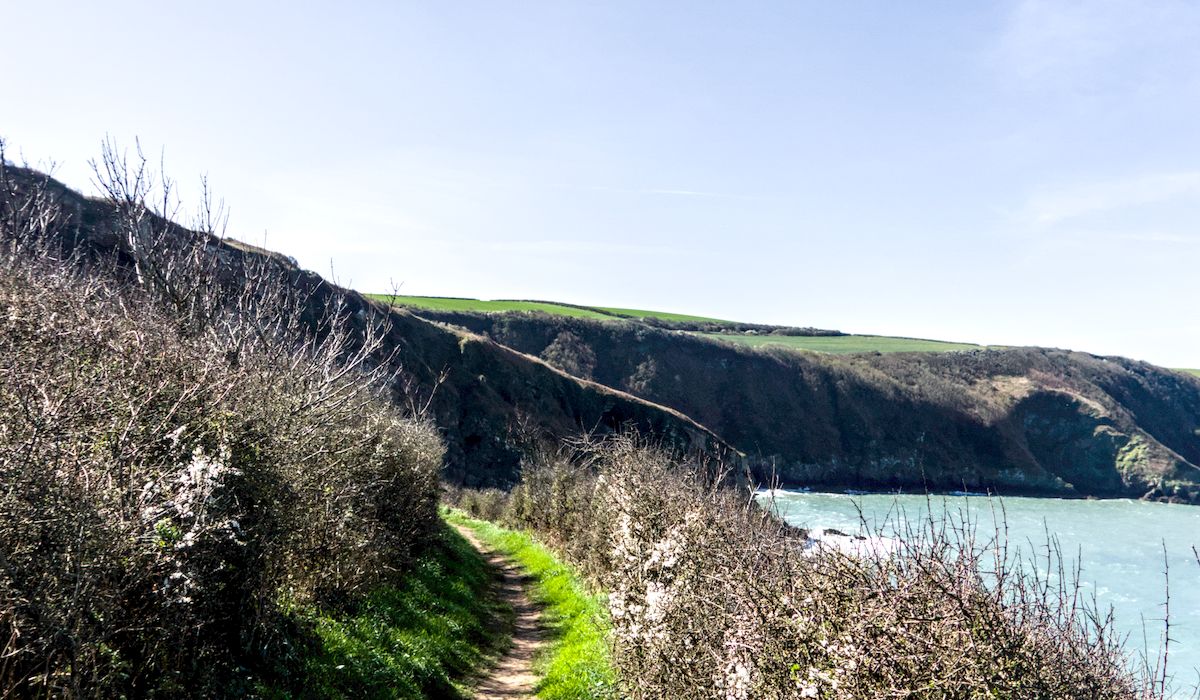
The coloured dashes crisscrossing the countryside are not all the same, and the difference matters. On a 1:25,000 map, public footpaths appear as short dashed lines, usually in orange or green. You may walk on foot, and you can expect stiles, squeeze gaps and kissing gates. Public bridleways are shown with longer dashes. You may walk, ride a horse or push a bicycle, and they tend to be wider and less obstructed. Byways open to all traffic are marked with crosses or plus signs and can legally carry vehicles, though many are little more than rutted tracks.
Two further distinctions are worth knowing:
- Permissive paths are shown with a different dash pattern and exist only at the landowner's pleasure. They can be closed on a whim, so never build a route around one without a fallback.
- Open access land appears as a pale wash on the map, generally in upland areas. In England and Wales you may roam freely across it on foot, but not on a bike or horse. Scotland is different again, with broad access rights almost everywhere.
A right of way on paper is a legal fact, not a guarantee. Paths get ploughed, overgrown, blocked by fallen trees or diverted. Take a pencil and be ready to improvise.
Reading contour lines without fear
Contour lines join points of equal height and are drawn at fixed intervals, commonly every ten metres on a 1:25,000 map. Every fifth line is thicker and carries a number, so you can count upwards or downwards to work out your height. The rules are simple once they click. Lines bunched tightly together mean steep ground. Widely spaced lines mean gentle slopes. That is the whole trick, and it will tell you more about the effort ahead than any distance measurement.
Shape matters as much as spacing. Where contours form a V, the point of the V aims uphill, and you are looking at a valley or re-entrant. Where contours bulge outwards and downhill, you have a spur or ridge. Spot heights, marked with a small dot and a number, give exact elevations, and a trig pillar symbol marks a surveyed summit. Steep ground may be shaded or shown with hachures, and crag symbols mean rock, so keep a sensible distance if the weather is poor.
The symbols that make or break a route
Some symbols are quiet warnings. A ford marked across a stream may be ankle deep in August and impassable in February, so look for the footbridge symbol instead. Marsh and bog shading tells you where the ground stays wet year round, even on a dry day. Bracken, conifer plantation and rough pasture all have their own textures, and each affects how fast you will actually move.
Also watch for:
- Gates and stiles, which slow you down and occasionally refuse to open.
- Military or danger areas, marked in red, where access may be restricted on certain days.
- Pylons, masts and fences, excellent handrails in poor visibility.
A pub symbol near the end of a walk is a navigational aid in its own right.
Turning paper into a plan: distance, time and bearings
Distance on a 1:25,000 map is easy: one grid square is one kilometre, so count the squares your route crosses. For time, use a rough rule of one hour per five kilometres on the flat, plus an extra hour for every six hundred metres of climbing. Add time for stiles, mud, photos and the inevitable wrong turn. Most walkers overestimate their speed by a third.
If you carry a compass, orient the map to the ground using its edge and a known feature. Magnetic variation in the UK is currently small, well under a couple of degrees in most places, so for a day hike you can usually ignore it, but the principle is worth understanding. In poor visibility, take a bearing before you need it, not after.
Common mistakes and how to avoid them
The classic error is assuming every dash on the map is a walkable path. Another is ignoring contour lines until you are halfway up something steep. A third is relying entirely on a phone that will die in the cold, so carry the paper map and a compass as your primary kit and treat the screen as a backup.
Finally, fold your map before you leave, ideally so the whole route fits in one panel and the legend stays visible. Keep it in a clear case, and check it at every junction rather than every mile. Ten seconds of map reading at a gate saves an hour of wandering in a field.




John Doe
14 January, 2022Having no content in post should have adverse..
Chauffina Carr
10 April, 2022We use these tests all time! Killer stuff!
Jim Séchen
16 July, 2022Thanks for all the comments, everyone!